
Installing an M.2 card
Refer to the following steps when installing a compatible M.2 card in
your Notebook PC.
IMPORTANT! Purchase your M.2 card from authorized retailers of this
Notebook PC to ensure maximum compatibility and reliability.
WARNING! Disconnect all the connected peripherals, any telephone or
telecommunication lines and power connector (such as external power
supply, battery pack, etc.) before removing the compartment cover.
NOTES:
• The appearance of your Notebook PC’s bottom side and M.2 card
may vary per model but the module installation remains the same.
• It is recommended that you install the M.2 card under professional
supervision. You may also visit an authorized service center for
further assistance.
•
The M.2 2280 slot does not support M.2 SATA SSD.

Notebook PC E-Manual
95
A.
Place the Notebook PC on a clean, flat, and stable surface.
B.
Remove the rubber covers to expose the screws of the
compartment cover.
C.
Loosen the screws of the compartment cover.
96
Notebook PC E-Manual
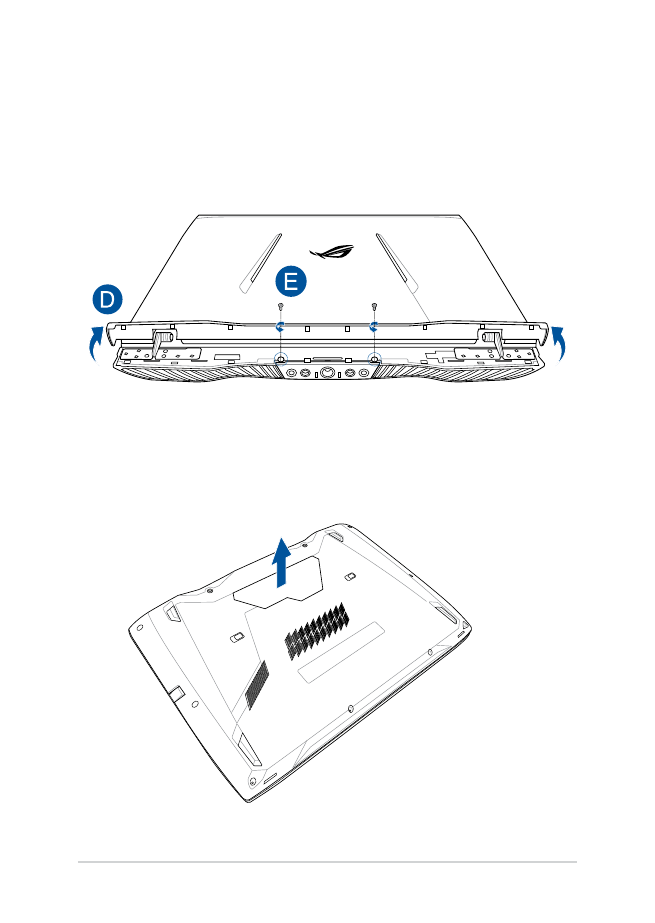
D.
Turn your Notebook PC over and lift open the hinge cover.
E.
Loosen the screws of the hinge cover, then replace the hinge
cover.
F.
Turn the Notebook PC over, then remove the compartment cover
completely then set it aside.
Notebook PC E-Manual
97
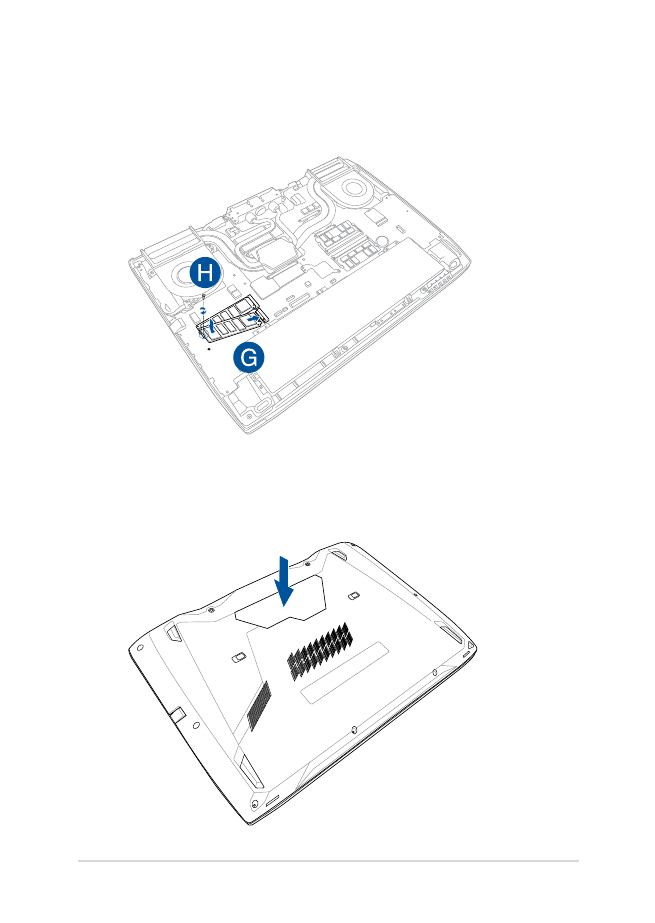
I.
Align and replace the compartment cover.
G.
Align and insert the M.2 card into its card module slot.
H.
Secure the M.2 card in place using the bundled screw.
98
Notebook PC E-Manual
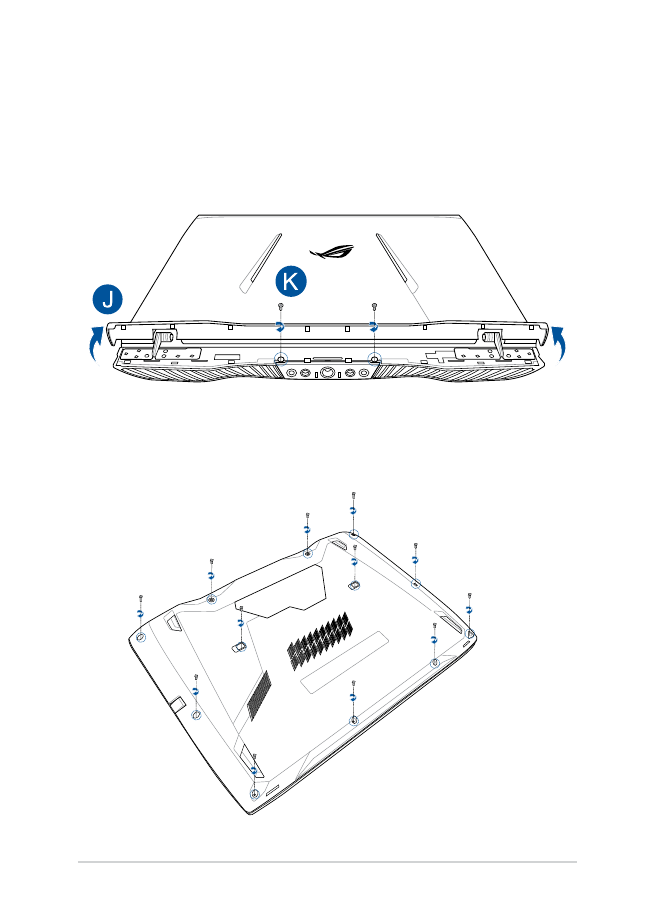
J.
Turn your Notebook PC over and lift open the hinge cover.
K.
Reattach and tighten the screws, then close the hinge cover.
L.
Turn the Notebook PC over, then reattach and tighten the screws.
Notebook PC E-Manual
99
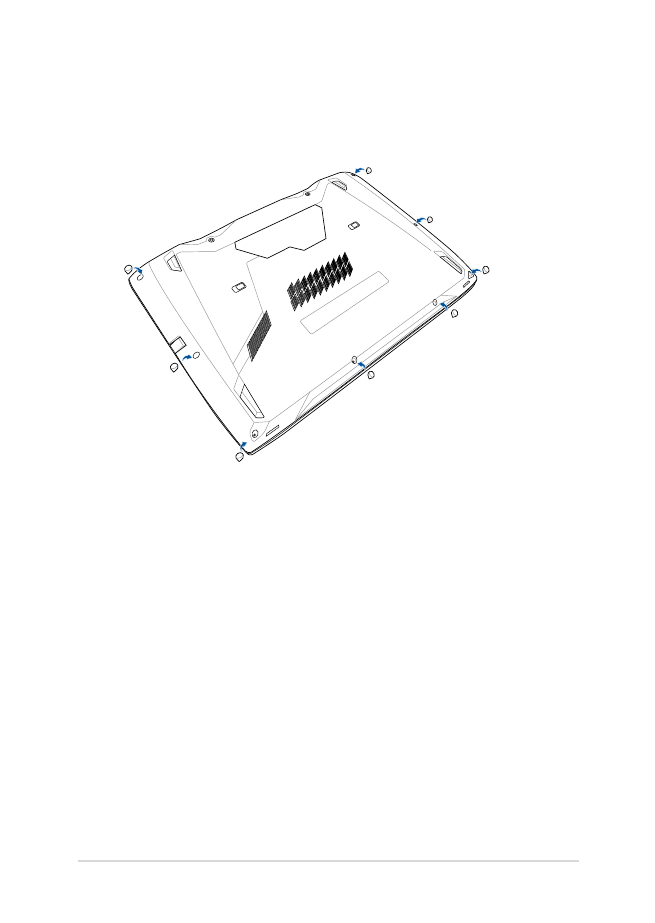
M.
Replace the rubber covers on the compartment cover.

100
Notebook PC E-Manual

Notebook PC E-Manual
101